Adding a New User to Brandscopic involves three quick, important steps. All three must be completed in order for the new User to effectively use the system.
1. Invite New User
2. Assign Places to User
3. Assign Campaign to User
Assigning Places gives the user permission to schedule, view, and edit events associated with a particular location. For example, if your new User needs to be able to schedule events in Chicago, you must assign Chicago to the user.
Similarly, you must assign Campaigns to the new User in order for he/she to schedule, view, and edit information concerning a particular campaign.
How to Add a New User
1. To Add a New User to Brandscopic, select Users from the Admin drop down. In order to view this Admin section, you must have Admin permissions*.
2. Once you've selected Users, you will be taken to the main User page. This page contains a master list of all Brandscopic Users.
3. Select the red Add User button in the upper left corner.

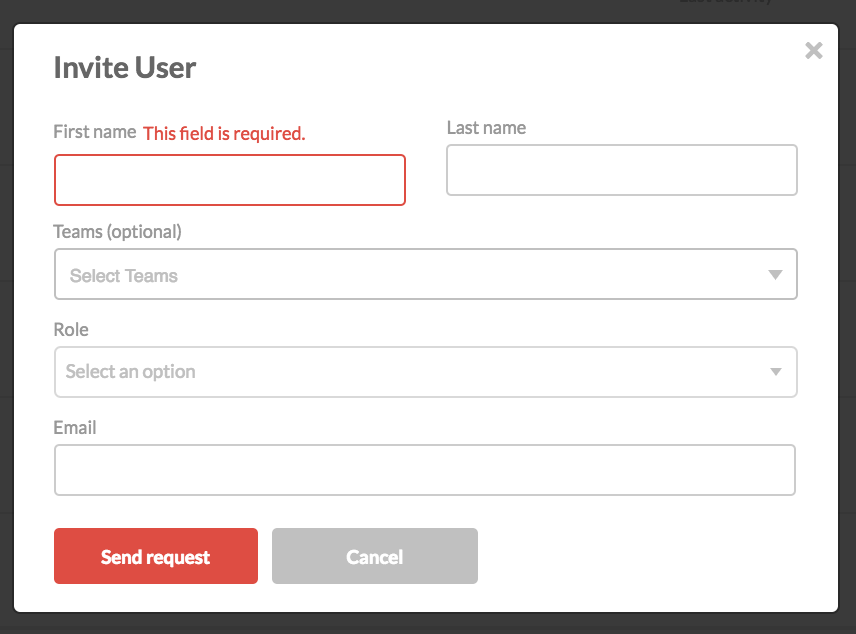
4. A lightbox will appear, prompting you to fill out basic information for the new User. Once you've completed the form, click the red Send Request button. An e-mail will be sent to the new User with login instructions.
You have now invited the new user to the system! Once they receive their Welcome Email they will be able to login to Brandscopic for the first time. However, without assigning Places or Campaigns to the User, they will not be able to appropriately use the system.
Once a User has been invited to the system, you must also set their permissions:
- Assign Campaigns
- Assign Places
Once you've clicked Send, you will be taken back to the User list. To set the user's permissions, se the search box or filter by 'invited' to find the new user in the user list. Click on the user to open the User Details page.
To add a Campaign to the user:
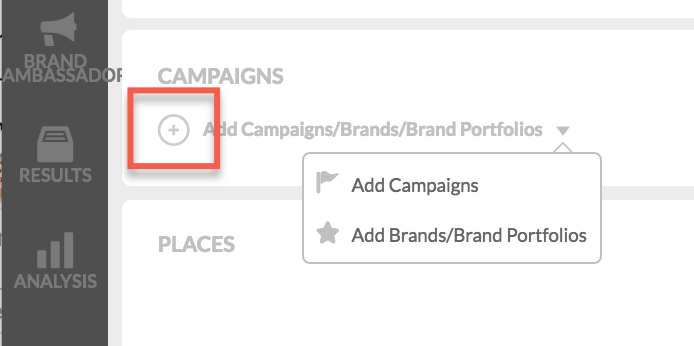
2. Select the campaign(s) that you would like to assign the user.
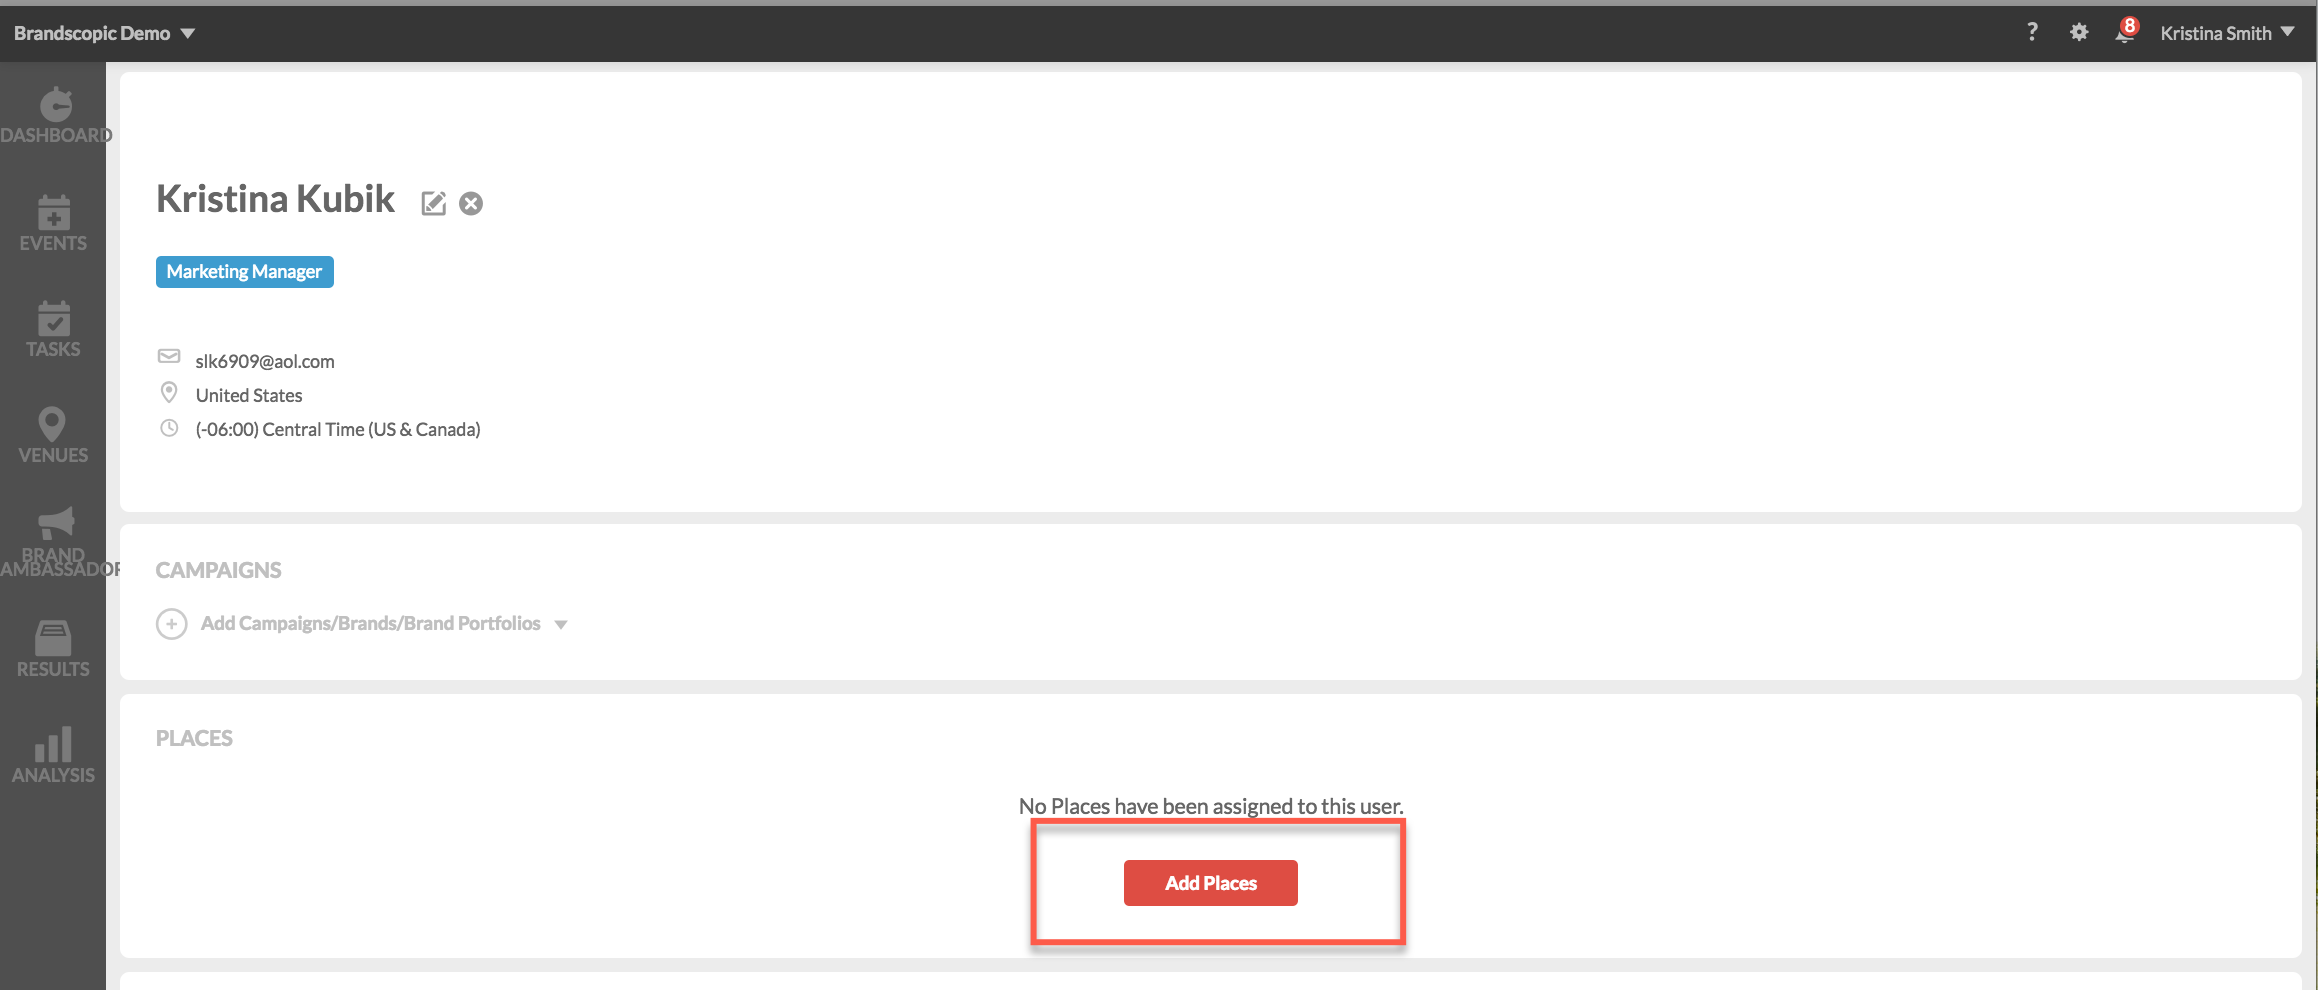
How To Assign Places to Users
To Assign a Place, click the Add Place button, as indicated below.
A lightbox will appear, prompting you to select your Place. Choose from the pre-populated list below, clicking the "+" to add. If the Place you are looking for is NOT in the list, then you can add it by using the search box below and clicking the red Add Place button. Your Place has now been added to the User.
All finished! You have now added a New User and assigned Places and Campaigns.
0 Comments