What are Activities?
In it's simplest terms, Activities are any type of form used to capture event data. Activities are the building blocks of Campaigns and are used to organize what type of information you want your team to capture and during what phase of the event you would like it captured.
For example, let's say that you have a sampling campaign called "Summer Sampling Campaign". In this campaign, you would like your field team to capture consumer surveys and complete a post event recap. In this example, both consumer surveys and the post event recap are types of activities. Within these activities, you can add questions, media attachment fields, expenses and more.
This article discusses:
- How to create a new activity
- Adding fields to activities
- Embedding activities within an activity
- Organizing, editing and removing fields
- Saving activities
Related articles:
- Creating a Campaign
- Creating Multiple Entry Activities
- Adding Fields to Activities
- Creating Multiple Entry Activities
How to Create a New Activity
1. Select Campaigns from the admin dropdown and choose your campaign from the campaign list.

2. You will be taken to the Campaign Details page. From here, click the Activity Builder tab.

3. Click the Add Custom Activity to be taken to the activity builder.

4. Enter the name of your activity, optional description and whether you would like this activity to be Multiple Entry or Single Entry.
Multiple Entry activities allow your team to add multiple activities to their event. For example, if you are creating a consumer survey, you may want your team to be able to capture many surveys for the same event.
Single Entry activities only display once for your team to complete. For example, you might want to create a post event recap that only requires your team to input their data once.
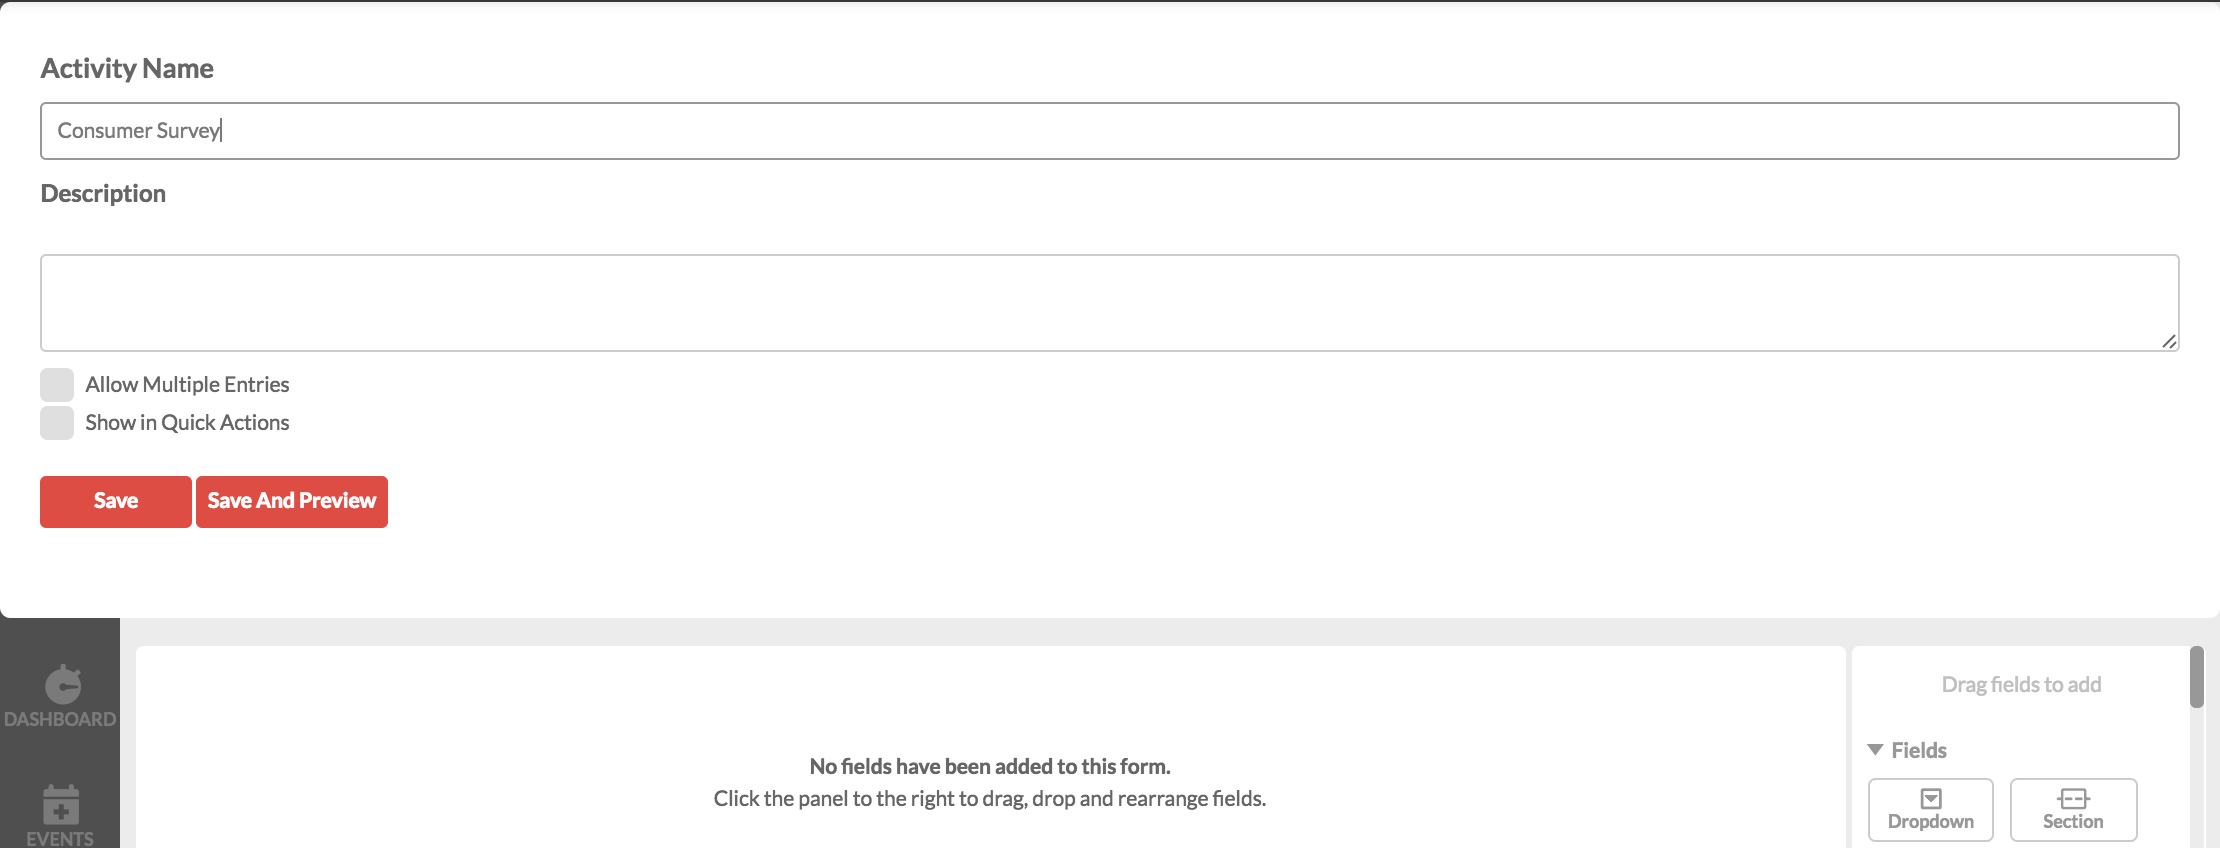
5. Click the red Save button to save your new Activity.
Adding Fields to Activities
Use the form builder panel on the right to drag and drop fields into your activity. From here, you can add fields such as multiple choice questions, dropdown fields, photo attachments or expenses.
Once you've dragged your field into the form, click the field to open the field's settings. There are three tabs that allow you to further customize your field:
Basic Settings:

1. To name your field, click into the Field Label field.
2. If you have chosen a multiple choice, percentage, dropdown, checkbox or calculation field you can add answer choices by clicking the "+" button and remove options by clicking the "-" button.
3. To require this field, click the checkbox next to Required.
Conditional Logic:

1. To add conditional logic to your field, first, select whether you would like to show or hide the field when certain criteria are met.
2. Next, select which question you would the field to be dependent on and which specific answer choice.
For more information about conditional logic, see Customizing Your Campaign with Conditional Logic.
Embedding Activities
In addition to fields, you can also embed activities within activities to help streamline workflow and create shorter recaps. For example, you might have a question that asks "Which product did you sample". You can embed an activity with conditional logic so that if a team member answers with "Product A", a second activity appears with a new set of questions specifically for Product A.
1. To embed an activity, drag and drop the activity from the Activity dropdown.

2. Select the activity to open settings and click Save.

3. Use the Conditional Logic and Goals tab to add logic or set goals to the activity.
For more information about embedding activities, see Embedding Activities.
Organizing, Editing and Removing Fields
Once you've added fields and/or activities to your activity builder, you can arrange their order, edit and remove.
To order your fields and activities, click the field or activity from the list and drag to move position.
To edit your fields or activities, click the field name to open up the settings tab.
To remove fields or activities, hover your cursor over the field name and click the trash button to the far right.
Saving Activities
Click the Save button at the top of the page to save your work or click the Save and Preview button to review your activity.

Deactivating Activities
To deactivate your activity, hover over the activity in the Activity Builder tab list and click the "X" button.

0 Comments